
 Ethan Cole

Prioritize disassembly with precision to avoid damaging components. Utilize a specialized case opener and ensure that you have a clean, well-lit workspace. Carefully remove the back cover while being mindful of any dust or debris.
Once inside, focus on assessing individual parts. Inspect the movement for signs of wear, corrosion, or dirt buildup. Using a soft brush and cotton swabs can help eliminate dust without scratching delicate surfaces.
Consider investing in a high-quality lubrication kit to maintain optimal performance. Apply lubrication to gears and pivots in moderation; too much can attract dirt and hinder functionality. After reassembly, ensure everything is aligned correctly and all screws are firmly fitted.
Understanding the Tools Needed for the Overhaul Process
Begin with a high-quality set of screwdrivers, specifically crafted for small, delicate screws. Look for a collection with various sizes and types, typically Phillips and flathead, to accommodate different components of the timepiece.
Next, obtain a pair of tweezers designed for watchmaking. Look for non-magnetic, anti-static options to manipulate small parts without risk of damage. A set of plastic or ceramic tweezers can prevent scratching sensitive surfaces.


A magnifier or loupe is beneficial for inspecting intricate elements and ensuring precision during assembly. A 10x loupe is often sufficient for detailed work, allowing for close examination while you work.
Drawing Up the Necessary Equipment
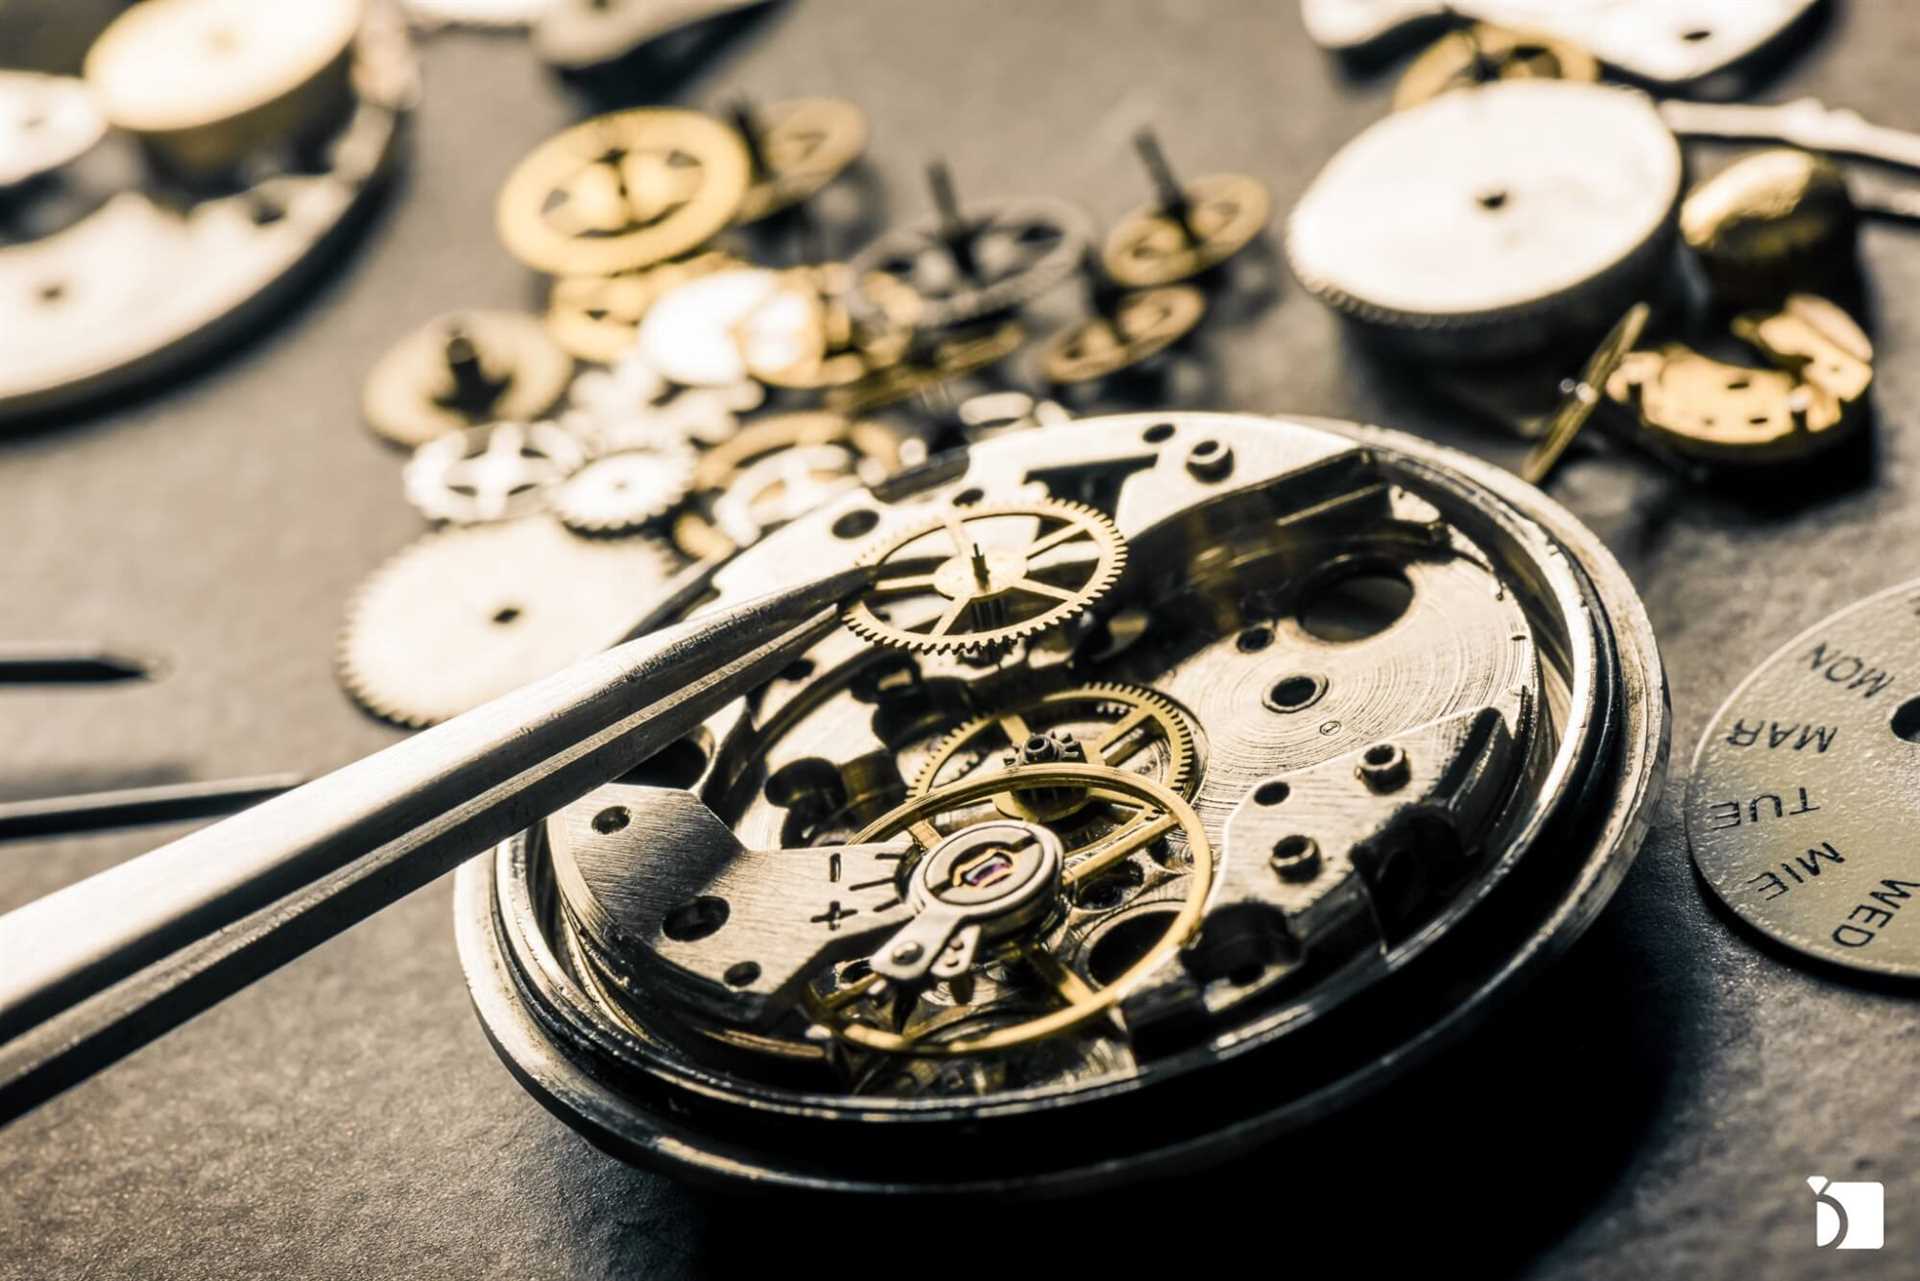
A watchmaker’s case opener is critical for accessing the inner mechanisms. Choose one that can handle various case types. Additionally, a crystal press will aid in safely installing or removing watch crystals without harm.
Pliers are also fundamental; needle-nose types can assist with gripping and bending small components. A soft mallet, preferably made of plastic, offers a gentler means for tapping parts without causing damage.
Additional Supplies for a Smooth Operation
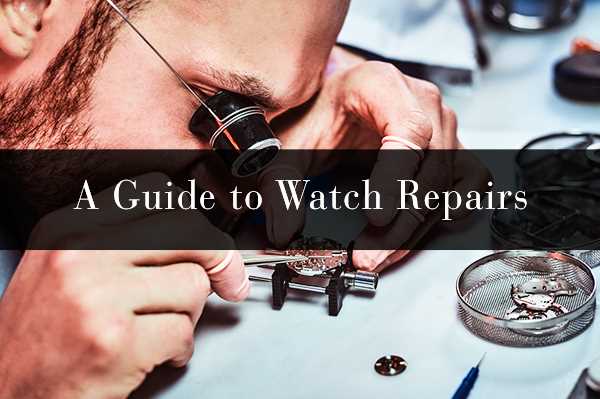
Keep a soft cloth or specialized cleaning solution on hand for maintaining the finish of the case and strap. Lubricants suited for timepieces can enhance the functionality of moving parts.
Finally, investing in storage containers or trays can help organize small components and prevent loss during the process. Utilizing labeled compartments aids in keeping everything orderly, ensuring smoother reassembly.
Steps to Safely Disassemble Your Timepiece
Ensure a clean workspace. A dedicated area with adequate lighting simplifies the process and minimizes the risk of losing small components.
Gather all necessary tools, including case openers, screwdrivers, tweezers, and a soft cloth for handling parts. Each tool should be suited for specific tasks to avoid damage to delicate elements.
Begin by removing the case back. Use a suitable case opener to prevent scratching the surface. If your timekeeper has screws, utilize the correct screwdriver. For snap-on backs, gently pry open using a blade or a case knife.
Next, detach the crown and stem. Start by locating the release lever inside the movement. Carefully press it while pulling the crown out gently; this separates it from the mechanism without causing any harm.
Carefully lift the movement out of the case. Use tweezers to grasp the movement from the edges, avoiding contact with any movable parts. Place it on a soft cloth or a specialized holder to protect it.
For quartz models, disconnect the battery next. Identify the battery compartment and use tweezers to gently lift the battery out. Avoid touching other electronic components during this step.
With mechanical units, unscrew and remove the escapement assembly. This step may require additional tools to delicately lift jewels and components without causing displacement or damage.
| Step | Action | Tools Needed |
|---|---|---|
| 1 | Remove case back | Case opener, screwdriver |
| 2 | Detach crown and stem | Tweezers |
| 3 | Lift out the movement | Soft cloth, tweezers |
| 4 | Disconnect battery (for quartz) | Tweezers |
| 5 | Remove escapement (for mechanical) | Screwdriver, tweezers |
Maintain organization throughout the disassembly. Utilize small containers or trays to separate and categorize parts as they are removed. This practice assists in reassembly and keeps everything accessible.
Inspecting Components for Wear and Damage
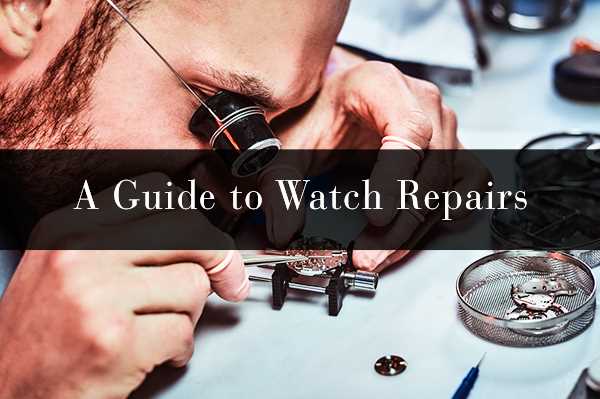
Check the movement for rust or corrosion, especially near the pivots and gears. Use a magnifying glass to closely examine these areas for any discoloration or pitting.
Inspect the mainspring for fatigue or kinks. A stretched or broken mainspring can cause significant issues in timekeeping accuracy. If it appears worn, consider replacing it.
Evaluate the escapement. Pay attention to the pallet fork and escape wheel for signs of excessive wear, such as uneven surfaces or missing teeth. These components are critical for the regulation of movement.
Examine the gears and wheels for excessive play or wobbling. Listen for unusual sounds when manually rotating the movement. Any noise or resistance might indicate a problem that requires attention.
Assess the case and crystal for scratches or cracks. A damaged crystal could lead to moisture ingress, while a scratched case detracts from the aesthetic and may also compromise sealing.
Inspect the dial and hands for any signs of discoloration or detachment. Ensure that all hands move freely without obstruction. Misaligned or sticking hands can affect readability and functionality.
Look at the gaskets and seals, focusing on any signs of wear or damage. Old or compromised gaskets can lead to water resistance failure, which is essential for preserving the internal components.
Finally, document any findings meticulously. This record will assist in determining what replacements or repairs are necessary, ensuring a complete restoration when reassembling.
Cleaning Techniques for Movements and Cases
Begin by using a lint-free cloth to wipe down the exterior of the case. For deeper cleaning, a mild soap solution mixed with lukewarm water can be employed. Soak a soft brush in the solution, then gently scrub all surfaces, especially in crevices.
Detailed Methods for Movement Cleaning
First, ensure the movement is completely disassembled. Ultrasonic cleaners effectively remove dirt from intricate component surfaces. Fill the ultrasonic cleaner with a suitable cleaning solution designed for watch movements. Briefly immerse the parts while monitoring closely to avoid damage. Rinse components with distilled water and dry them thoroughly.
Case and Crystal Maintenance
For the case, utilize a soft, damp cloth for regular maintenance. If facing significant tarnish or scratches, a dedicated polish or compound for metals should be used carefully. For the crystal, employ a plastic polish to eliminate minor scratches, ensuring not to apply excess pressure. Regular attention helps maintain aesthetic appeal and functional integrity.
Reassembling the Timepiece: Tips for a Successful Assembly
Carefully line up and orient all components before placing them back into position. Ensure that the movement is seated correctly within the case to avoid misalignment issues during reassembly.
Utilize a soft, non-magnetic tool such as a tweezers or a pusher when handling delicate parts. This minimizes the risk of scratching or damaging while also preventing any magnetic interference with the movement’s operation.
Apply a small amount of lubricant to pivot points as specified in the manufacturer’s recommendations. Use precision tools like oilers with fine tips for this task to avoid excess application that may lead to attracting dust or debris.
Carefully inspect the gaskets and O-rings for any signs of wear or deformation before sealing the case. Replace these components if any irregularities are detected to ensure water resistance and dust protection.
Pay attention to the orientation of screws and components, particularly those with unique shapes or sizes. Maintain an organized work area with labeled storage for screws and parts to streamline the process and prevent mix-ups.
Test the crown and all functions of the timepiece after reassembly to ensure smooth operation. If the timekeeping is off or the functions are unresponsive, revisit your assembly steps to identify any potential errors.
Finish by cleaning the exterior with a microfiber cloth to remove any fingerprints or smudges, preserving the visual appeal of the timepiece.
Testing Functionality and Ensuring Accuracy After Overhaul
Begin the evaluation by ensuring that the timepiece is wound fully or has a fresh battery installed. Proceed to check each function meticulously.
Steps for Functional Testing
- Check the timekeeping accuracy by comparing the timepiece against a reliable time source over 24 hours.
- Test the chronograph function, if applicable, by timing a specific event and verifying against a stopwatch.
- Evaluate the date and day change mechanisms, ensuring smooth transitions at midnight.
- Examine the winding mechanism by manual winding and observing resistance.
- Inspect any additional complications, like alarms or perpetual calendars, for proper operation.
Verifying Accuracy
Utilize a timing machine to measure the rate, amplitude, and beat error. Ideal parameters vary by movement type. Document results for future reference.
- Rate: Aim for a deviation within ±15 seconds per day for mechanical movements.
- Amplitude: Typical range is 260° to 320° for optimal performance.
- Beat Error: Strive for a beat error of less than 0.5 milliseconds.
Conclude testing by monitoring performance over a week, checking for consistent timekeeping and performance of all features.



