Ethan Cole

Gently grasp the backplate of the mechanism using a specialized tool or a pair of soft-tipped pliers to avoid scratching the surface. Apply a firm yet careful pressure to release the retaining clips that secure the entire assembly. Ensure that all movements are steady and controlled to prevent any internal damage.
Prior to manipulation, inspect the attachment points for any visible screws or hidden clasps that might need loosening. If present, utilize an appropriate screwdriver to ease the tension and facilitate a smoother extraction process. Keep a clean workspace to avoid losing small components that may detach during this operation.


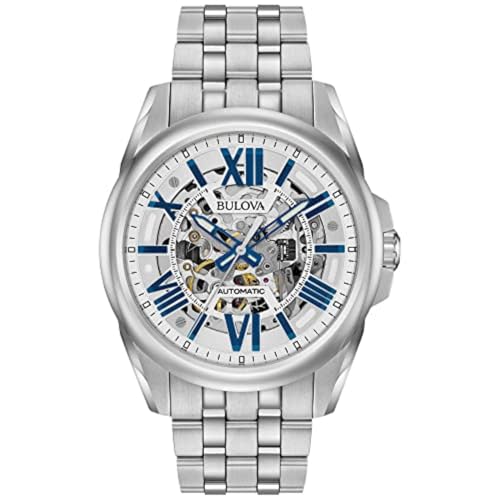
Once freed from its mount, carefully lift the whole unit out, maintaining an upright position to prevent dust ingress. It’s advisable to place it on a soft microfiber cloth to protect the delicate finishes from scratches during handling. Following these guidelines will help preserve the integrity of this exquisite timepiece throughout the extraction.
Steps to Extract the Luger Timepiece from Its Housing
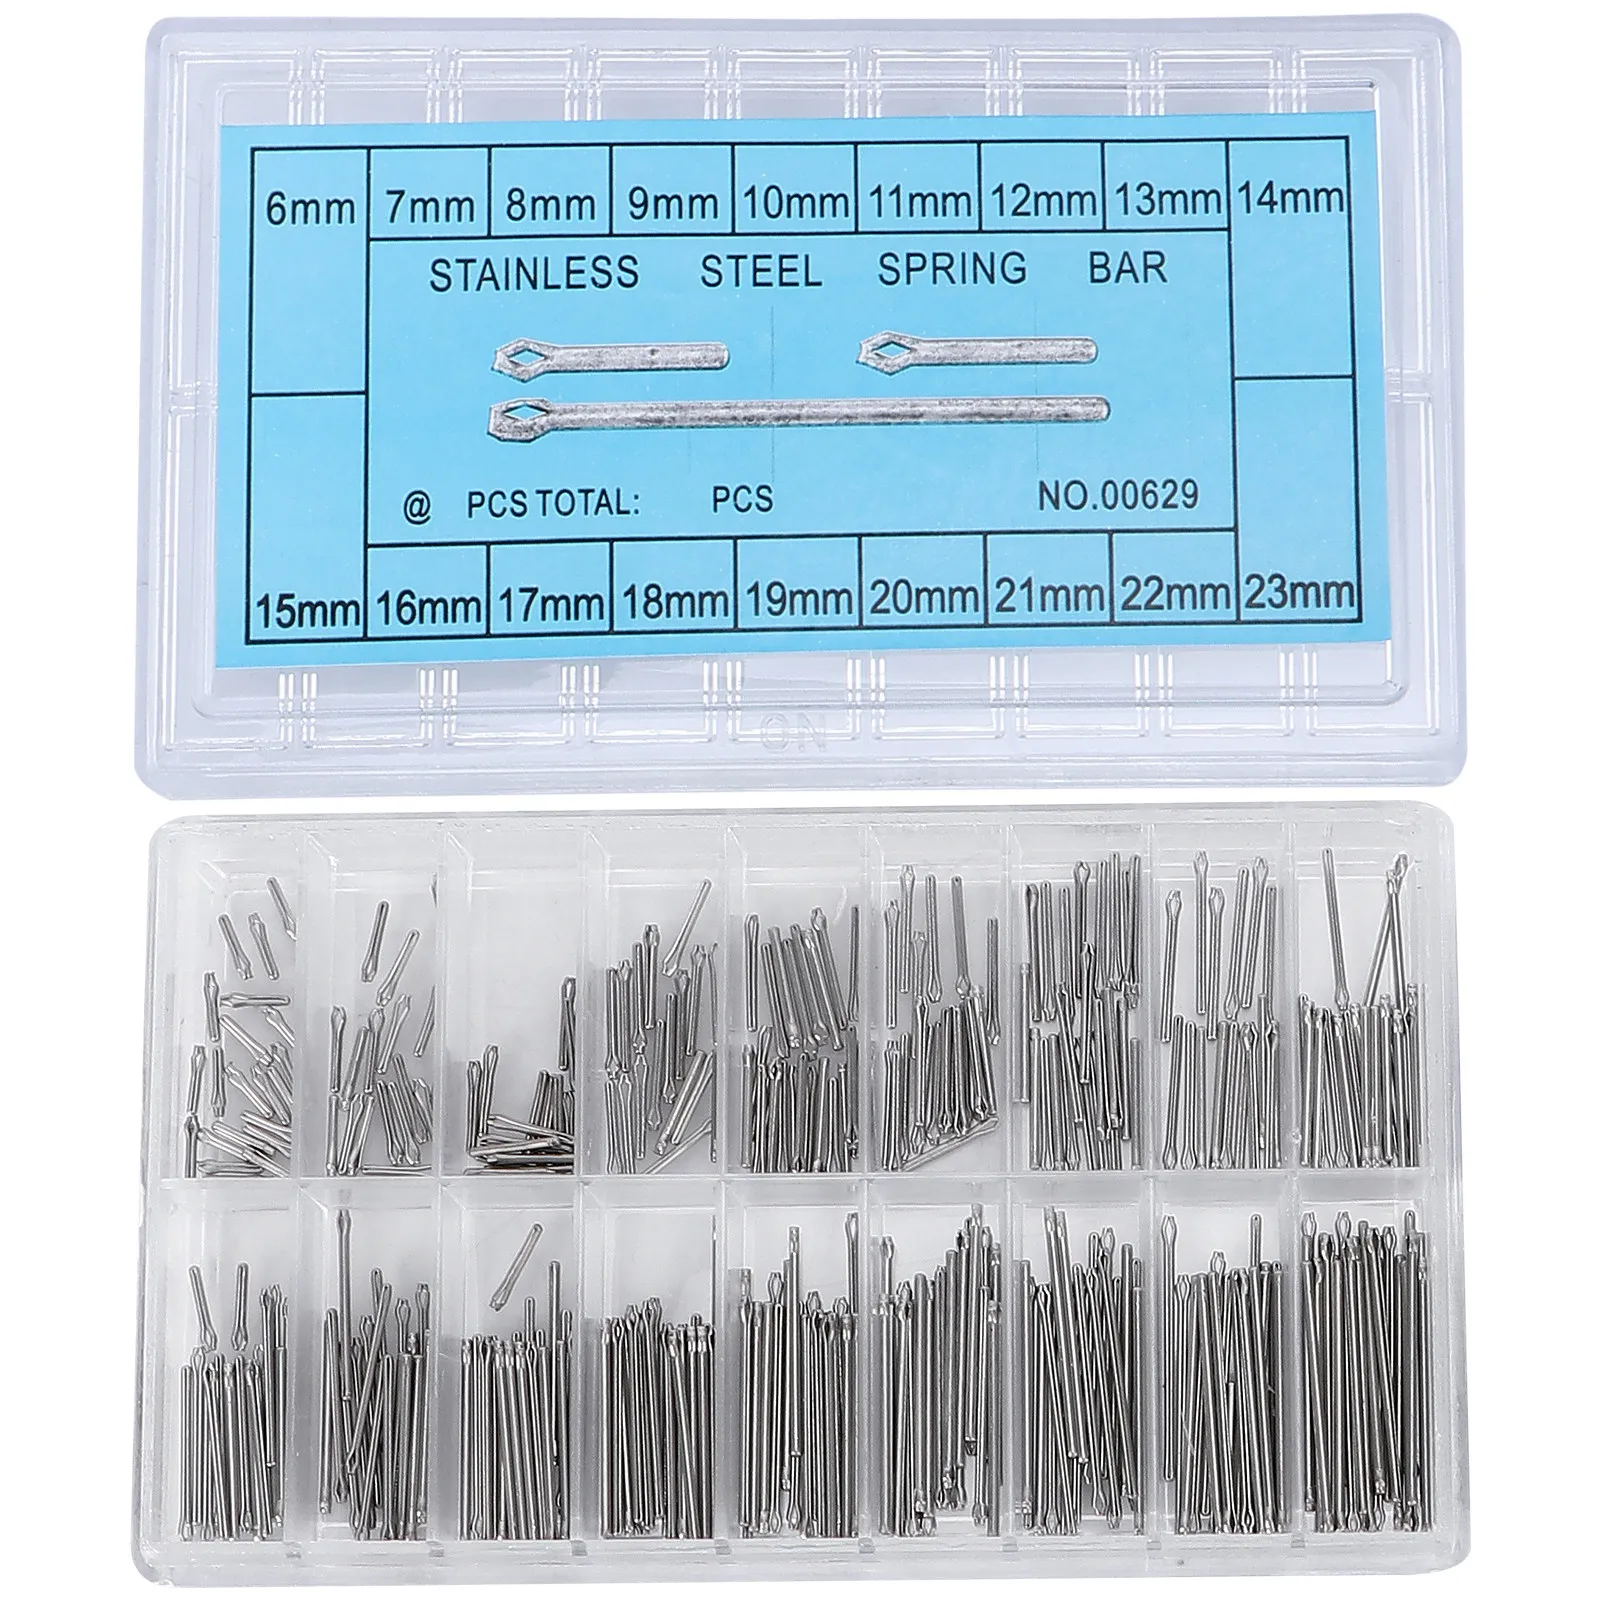
Begin by identifying the specific lugs securing the timekeeper to its housing. Use a fine tool, such as a spring bar remover, to compress the spring bars. Apply gentle pressure while sliding the tool under the lug to disconnect the bars from the case. This ensures a smooth release without damaging components.
Checking for Additional Fasteners
Inspect the case for any visible screws or fasteners that might be connecting the timepiece to the casing. If present, utilize a precision screwdriver to carefully unscrew them. Store these screws in a safe location to prevent loss. Ensure proper alignment during reassembly.
Final Extraction Process
With the spring bars disengaged and any screws removed, gently wiggle the timekeeper to release it from the housing. Avoid using excessive force to prevent any damage to internal mechanisms. After successful extraction, clean the case and the timepiece’s base to maintain proper functionality.
Gather Necessary Tools for Watch Case Removal
Prior to initiating the disassembly of the timepiece, ensure you have the following instruments on hand:
- Case opener: A dedicated tool designed to fit into the grooves of the casing for a secure grip.
- Pusher tool: Useful for pressing off bands or pins, aiding in the disconnection process.
- Screwdrivers: A set of precision screwdrivers, particularly Phillips and flathead, for accessing screws within the enclosure.
- Plastic separation tool: Non-metal pry tools can help avoid scratches on the surface while opening the casing.
- Soft cloth: To create a protective surface and prevent scratches on both the timepiece and the workstation.
- Magnifying glass: Assists in inspecting smaller components and identifying screws or clips.
- Storage container: To safely store small components such as screws during the procedure.
Safety Gear
Consider wearing safety glasses to protect your eyes from small debris, and work in a well-lit area to enhance visibility of tiny components.
Organizing Workspace
Before starting, arrange your tools within arm’s reach, ensuring a clutter-free workspace to facilitate focus and efficiency during the process.
Identify the Type of Luger Watch Case
Begin by examining the exterior characteristics of the timepiece. Watch cases typically fall into distinct categories based on their construction and design.
| Case Type | Description |
|---|---|
| Snap-Back | This model features a yet removable back that can be taken off easily with a case knife or a specialized tool. It is common in vintage designs. |
| Screw-Down | Identified by a threaded back requiring a case wrench. These designs enhance water resistance and often signify a more robust construction. |
| Quartz | Typically made with a sealed back, which may require specialized tools for access. These designs can offer durability and battery protection. |
| Sealed | A design that is permanently affixed, often used in more advanced models. Removal without damaging the case necessitates advanced tools and skills. |
Observe the lugs and the space where the strap connects, as these can provide further hints about the construction method. Additionally, inspecting the markings or engravings present on the case can indicate not only the brand but also the specific model, which is useful for identifying the right techniques for disassembly.
Refer to manufacturer guidelines for specific instructions pertaining to the model in question, as each variant may present unique challenges or methods for casing access.
Accessing the Back of the Watch Case Safely
Utilize a soft cloth to cushion the watch against scratches during the process. Position the timepiece face down on the cloth, ensuring stability. If applicable, determine whether the rear is secured with screws or a snap-on mechanism. For screw-back designs, a specialized case wrench or screwdriver may be required. Ensure the correct size of the tool to avoid stripping the screws.
For Snap-On Cases
Apply gentle pressure around the edge using a plastic case opening tool or a thin card to pop the back off. Avoid metal tools that may cause damage or leave marks. Work around the perimeter gradually to maintain even pressure, allowing the cover to release without force.
Handling Difficult Cases
If encountering resistance, reassess your method. Ensure the area is well-lit and avoid twisting or forcing open components. Employing a light source may help identify hidden clasps or securing features. Patience is key; rushing can lead to accidental damage.
Detach the Watch Movement from the Case
Carefully lift the movement using a pair of tweezers or a movement holder to avoid damage to delicate parts. Ensure that the movement is free from any screws or hooks securing it to the inner case.
Next, inspect for any additional components, such as retaining clips or screws. Unscrew these components gently, ensuring no pressure is applied to the movement itself. Use a small screwdriver or specific watch tools to facilitate this process.
Employ Caution with the Movement
As the movement begins to separate, keep a steady hand and support it adequately. If resistance is felt, check again for any overlooked screws or clips. It’s important to maintain vigilance to prevent any components from being bent or broken.
Complete the Separation
Once all securing elements have been addressed, gently slide the movement out of the outer casing. Take a moment to verify the integrity of all parts before proceeding with any further adjustments or repairs.
Storing the movement in an anti-static material is advisable to safeguard against dust and static charges while working on the rest of the assembly.
Handle the Watch Components with Care
Prioritize careful handling of each component during the disassembly process. Any forceful actions may lead to irreversible damage.
- Utilize anti-static gloves to avoid oils and dirt transferring to sensitive components.
- Maintain a clean workspace to minimize the risk of losing small parts and to prevent contamination.
- Use microfiber cloths to gently wipe the surfaces of the casing and movement if required.
- That the balance wheel and escapement are particularly delicate; avoid touching them directly.
- Place components in organized containers to ensure easy identification during reassembly.
Pay attention to any springs or other tensioned parts; releasing tension must be done carefully to avoid injuries.
Use the appropriate tools specifically designed for watch components to ensure precision and reduce the risk of scratches or bending. Applying excessive force to tools can damage parts beyond repair.
In case of uncertainty, consult detailed guides or professional resources before proceeding. Protecting each element of the timepiece ensures longevity and retains its functionality.
Reassemble the Timepiece After Disassembly
Carefully position the movement back into the casing, ensuring all components fit appropriately without force. Align the movement with the case’s retaining mechanism to secure it in place.
Reattach the Back Cover
Begin by aligning the cover with the case. Gently press it into position, checking for evenness along the edges. Utilize a case press or appropriate tool to ensure a snug fit without damaging the materials or sealing mechanisms.
Perform Final Checks
After securing the back, inspect the piece thoroughly. Verify that the crown operates smoothly and that all dial features function correctly. Conduct a simple timekeeping test to confirm accuracy and reliability before using the timepiece again.
FAQ:
What tools do I need to remove the Luger wristwatch from its case?
To remove a Luger wristwatch from its case, you typically need a set of small screwdrivers, specifically a Phillips head or flathead screwdriver, depending on the screws used in your watch case. Additionally, a pair of tweezers and a case opener tool can make the process easier. It’s also wise to have a soft cloth on hand to place your watch on, preventing any scratches during the procedure.
Can I remove the Luger wristwatch from its case without damaging it?
Yes, you can remove the Luger wristwatch from its case without causing any damage if you take your time and follow the proper steps. First, ensure you have the right tools and work in a clean, well-lit environment. Carefully unscrew any visible screws and gently pry the case apart using a case opener tool, if necessary. Always handle the watch with care, avoiding any excessive force to prevent scratching or breaking components.
What are the steps involved in removing the Luger wristwatch from its case?
To remove the Luger wristwatch from its case, follow these steps: First, lay the watch face down on a clean, soft surface to avoid scratches. Then, locate the screws on the back of the case and use the appropriate screwdriver to carefully unscrew them. If the case has a snap-back design, gently insert the case opener tool between the case and the back cover, applying light pressure until it pops open. Once the case is open, you can lift the watch out. Be mindful of any small parts that may come loose during this process, and handle them carefully. Ensure you reassemble everything properly when you’re done.