
 Ethan Cole

Replacement of the crystal on a timepiece is entirely feasible and can be accomplished with the right tools and knowledge. Begin by determining the type of glass–plastic, mineral, or sapphire–your timekeeper employs, as this will influence both the method of removal and the replacement material.
For plastic components, careful heating can soften adhesive bonds, allowing for easier removal. With mineral or sapphire crystals, specialized tools, such as a crystal lift or watch press, become necessary to avoid damage. Prioritize sourcing high-quality replacements that match the original specifications to ensure integrity and performance.
Once equipped, begin disassembly by removing the case back. Take care with the movement and ensure it is adequately protected. After detaching the old crystal, clean the bezel thoroughly before installing the new piece. Securely reassemble all components, ensuring watertight seals are intact if applicable.
Whether opting for a DIY approach or seeking professional assistance, understanding the intricacies involved in this process will facilitate a successful replacement. Taking these steps will not only restore aesthetics but also maintain the functionality of your cherished accessory.


Replacing the Crystal on a Timepiece
Replacing the crystal on a timepiece is feasible, providing it is done meticulously. Utilize the correct tools, such as a case opener, to avoid damaging the case. Choose a replacement that matches the original dimensions and type, whether sapphire, mineral, or acrylic.
Before commencing, ensure the watch is completely disassembled, allowing access without risking other components. Take note of the sealing methods employed; if the timepiece is water-resistant, replacing the gasket during reassembly is essential.
If unsure about the process or lacking expertise, visiting a certified technician is advisable. This ensures that no inadvertent damage occurs and that the integrity of the timepiece remains intact.
In summary, while replacement is achievable, careful consideration of the method, materials used, and potential professional assistance is recommended to maintain the functionality and appearance of the accessory.
Identifying the Type of Watch Glass Used
To determine the material of the crystal used in a timepiece, first, visually inspect the surface. Mineral crystal typically exhibits scratches and can appear slightly blurry in certain lighting, while sapphire crystal is more resistant to scratches and offers a clearer view.
Testing Techniques
Apply a simple scratch test with a metal object, like a coin. If the surface is scratched easily, it’s likely mineral. A sapphire crystal will resist scratches significantly. Additionally, check for reflective properties; sapphire often has a blue hue when light hits its surface.
Manufacturer Information
Consult the documentation of the accessory or the brand’s website for specifications. Many reputable brands specify the type of crystal used. If documentation is unavailable, seek assistance from a professional watchmaker who can help identify the material accurately.
Tools Required for Changing Watch Glass
For replacing the crystal of a timepiece, several specific instruments are necessary:
- Case Opening Tool: Enables access to the interior of the casing. Options include a case back opener or a knife-like blade for snap-back cases.
- Screwdriver Set: Various sizes are crucial for unscrewing components, such as the case back or other parts that may obstruct the glass replacement process.
- Crystal Removal Tool: Designed to safely lift and eliminate the old glass without damaging the housing. Pliers specifically for crystals can also be effective.
- New Crystal: Ensure the right size and type are selected for optimal fit.
- Adhesive: A strong epoxy or special watch adhesive may be needed to secure the new glass in place, especially with non-press-fit types.
- Soft Cloth: Protects the surface from scratches during the repair work.
- Tweezers: Assists in handling small components or the new crystal safely.
- Magnifying Glass: Enhances visibility for detailed work, ensuring accuracy when installing or adjusting parts.
Acquiring these tools beforehand simplifies the process and minimizes potential complications during the glass replacement task.
Step-by-Step Guide to Replacing the Watch Glass
Begin with gathering the necessary tools including a case opener, tweezers, a clean cloth, and a new crystal. Ensure the workspace is well-lit to avoid missing any small components.
Step 1: Remove the Case Back
Use a case opener to gently twist off the back of the timepiece. If screws are present, utilize the appropriate screwdriver to detach them. Take care to avoid damaging the case or components inside.
Step 2: Extract the Damaged Crystal
With tweezers or a small blade, carefully pry out the fractured crystal. Inspect the area for any debris or remnants that may have remained. Ensure the seating for the new crystal is clean and free from any obstructions.
Step 3: Install the New Crystal
Position the new crystal in the designated space. Apply gentle pressure until it seats securely. Check for any misalignment or gaps around the perimeter.
Step 4: Reassemble the Timepiece
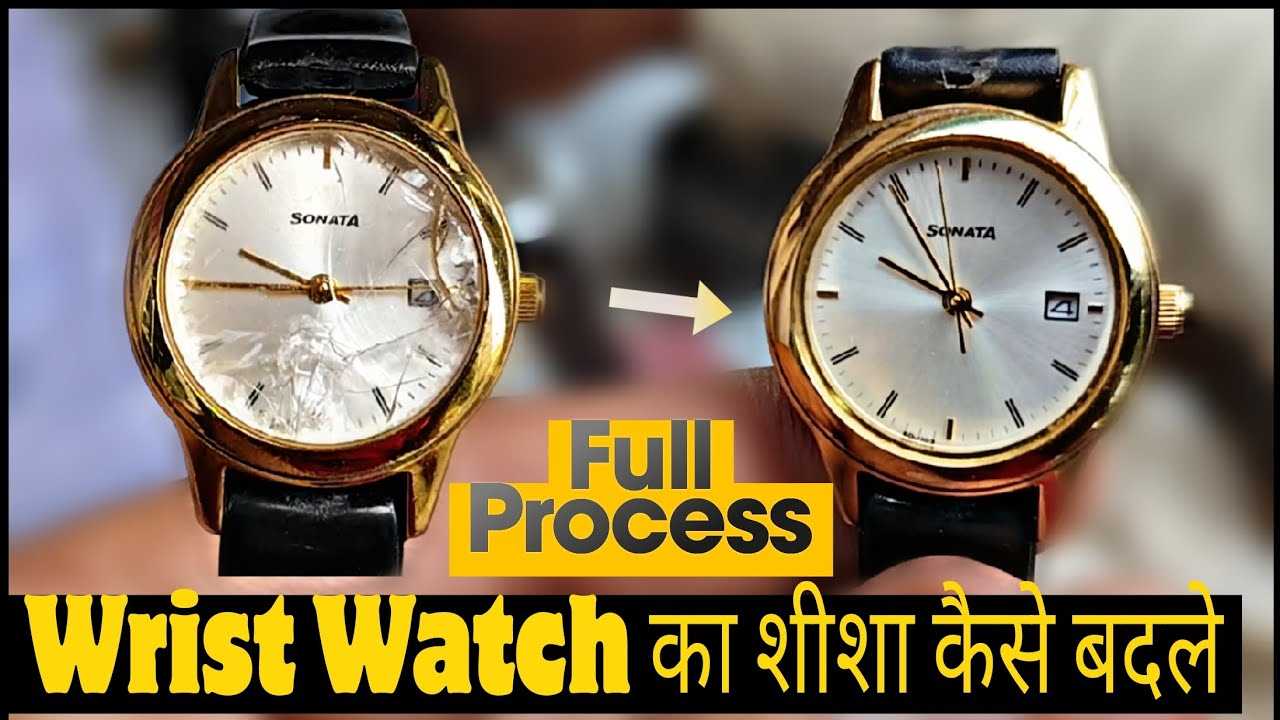
Replace the case back, ensuring all screws are tightened if applicable. Wipe the exterior with a soft cloth to remove any fingerprints or dust from the process.
After reassembly, test the functionality of the timepiece to confirm no issues have arisen during the replacement process.
Common Mistakes to Avoid During Replacement
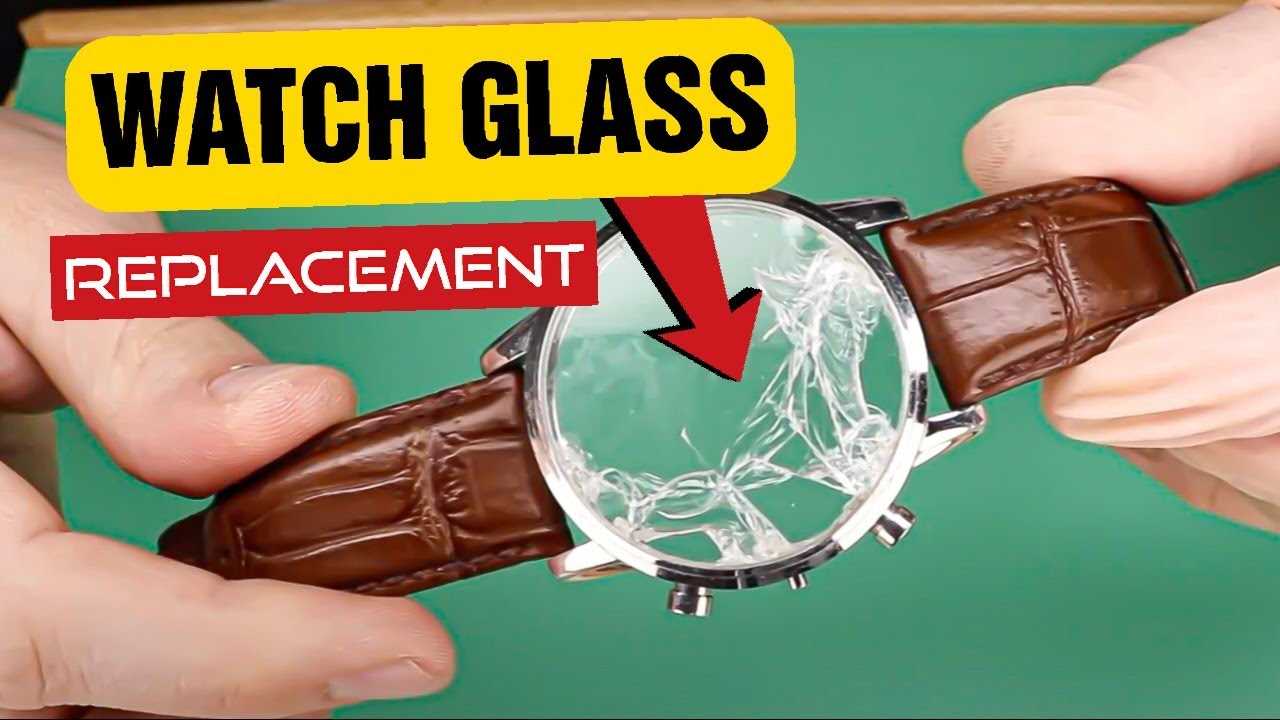
Ensure a clean work environment before beginning any replacement process. Dust and debris can easily scratch the new lens or damage internal components.
Verify compatibility of the new component with the specific model. Using incorrect sizes or types may lead to improper fit or seal issues.
- Neglecting to use appropriate tools may result in damage. Always rely on the right equipment for tasks such as prying or screwing.
- Over-tightening screws can lead to cracking. Apply moderate pressure to avoid stressing the material.
- Ignoring gasket replacement can cause moisture ingress. Always replace seals when installing new components.
- Failing to check for alignment of markers and hands may result in inaccuracies. Verify positioning before sealing the assembly.
Pay attention to the orientation of the lens; incorrect placement may affect visibility and appearance.
- Skipping thorough inspection of the mechanism prior to closure can lead to unforeseen issues. Always check for debris and ensure all parts are functioning.
- Not testing for water resistance after completing the task can lead to future damage. Conduct a water resistance test if applicable.
Document the entire process for future reference. Keeping notes helps during potential repairs or further replacements.
When to Seek Professional Help for Watch Glass Replacement
Consult an expert in cases of significant damage, such as severe cracks or shattered surfaces. If the original component is made from high-grade material, a skilled technician is likely needed for replacement.
Signs Indicating Professional Intervention is Needed
| Indicator | Recommendation |
|---|---|
| Extensive Cracking | Seek a watchmaker for repair or replacement. |
| Water Damage | Visit a specialist to assess potential interior damage. |
| Incorrect Tools | Consult an expert if lacking the necessary equipment. |
| Timepiece Value | For high-value items, professional replacement is advisable. |
| Lack of Experience | Do not attempt if unfamiliar with watch mechanics; enlist a professional. |
Benefits of Professional Replacement
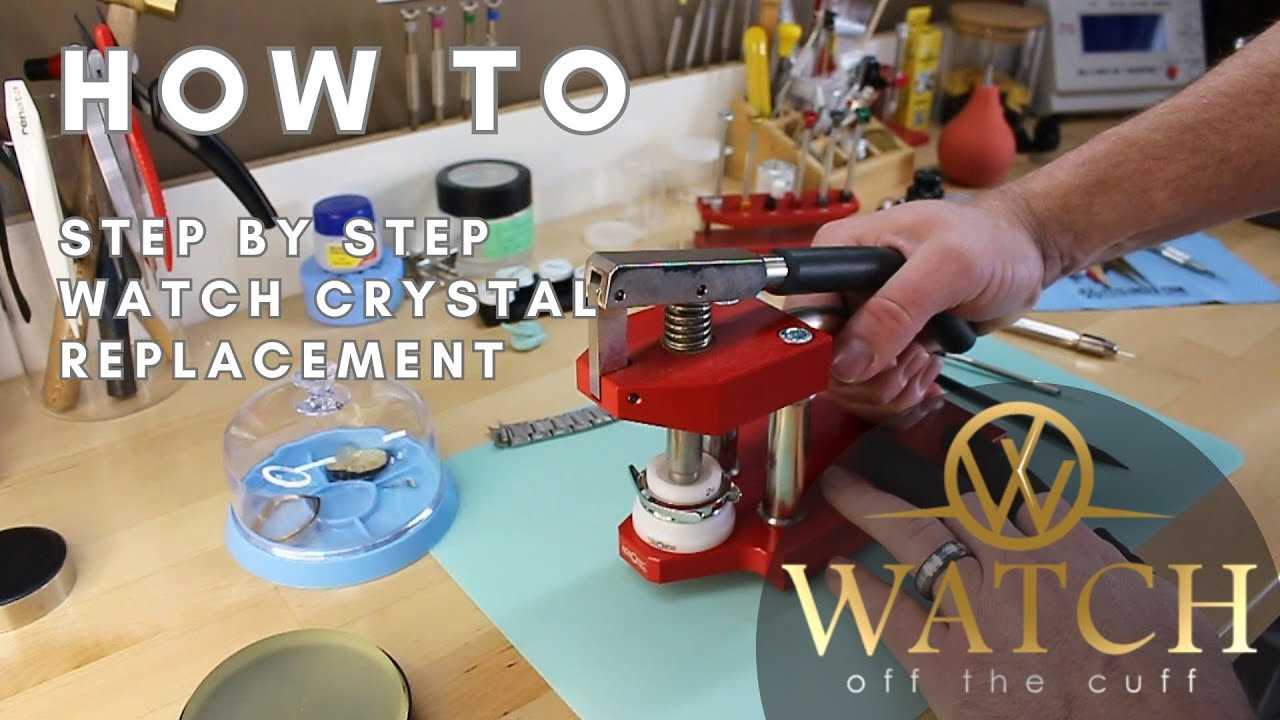
Engaging a skilled watchmaker guarantees that the process is executed with precision and care, safeguarding the timepiece’s functionality and aesthetics. Additionally, a warranty may accompany services provided, ensuring future protection against similar issues.


